From a space, an image or a diagram to a navigable scene
Six steps take the thing students are learning to read and turn it into an annotated, navigable scene. The steps are the same in both tiers until the last one. In Panova Resource the educator builds the scene for students. In Panova Assignments the student builds it themselves. One scene, a bridge, carries you through every step below.
Build the scene
Start with the thing itself. Compose a scene from a single image or several, and arrange related scenes into a sequence so a whole ward, site or system becomes navigable.
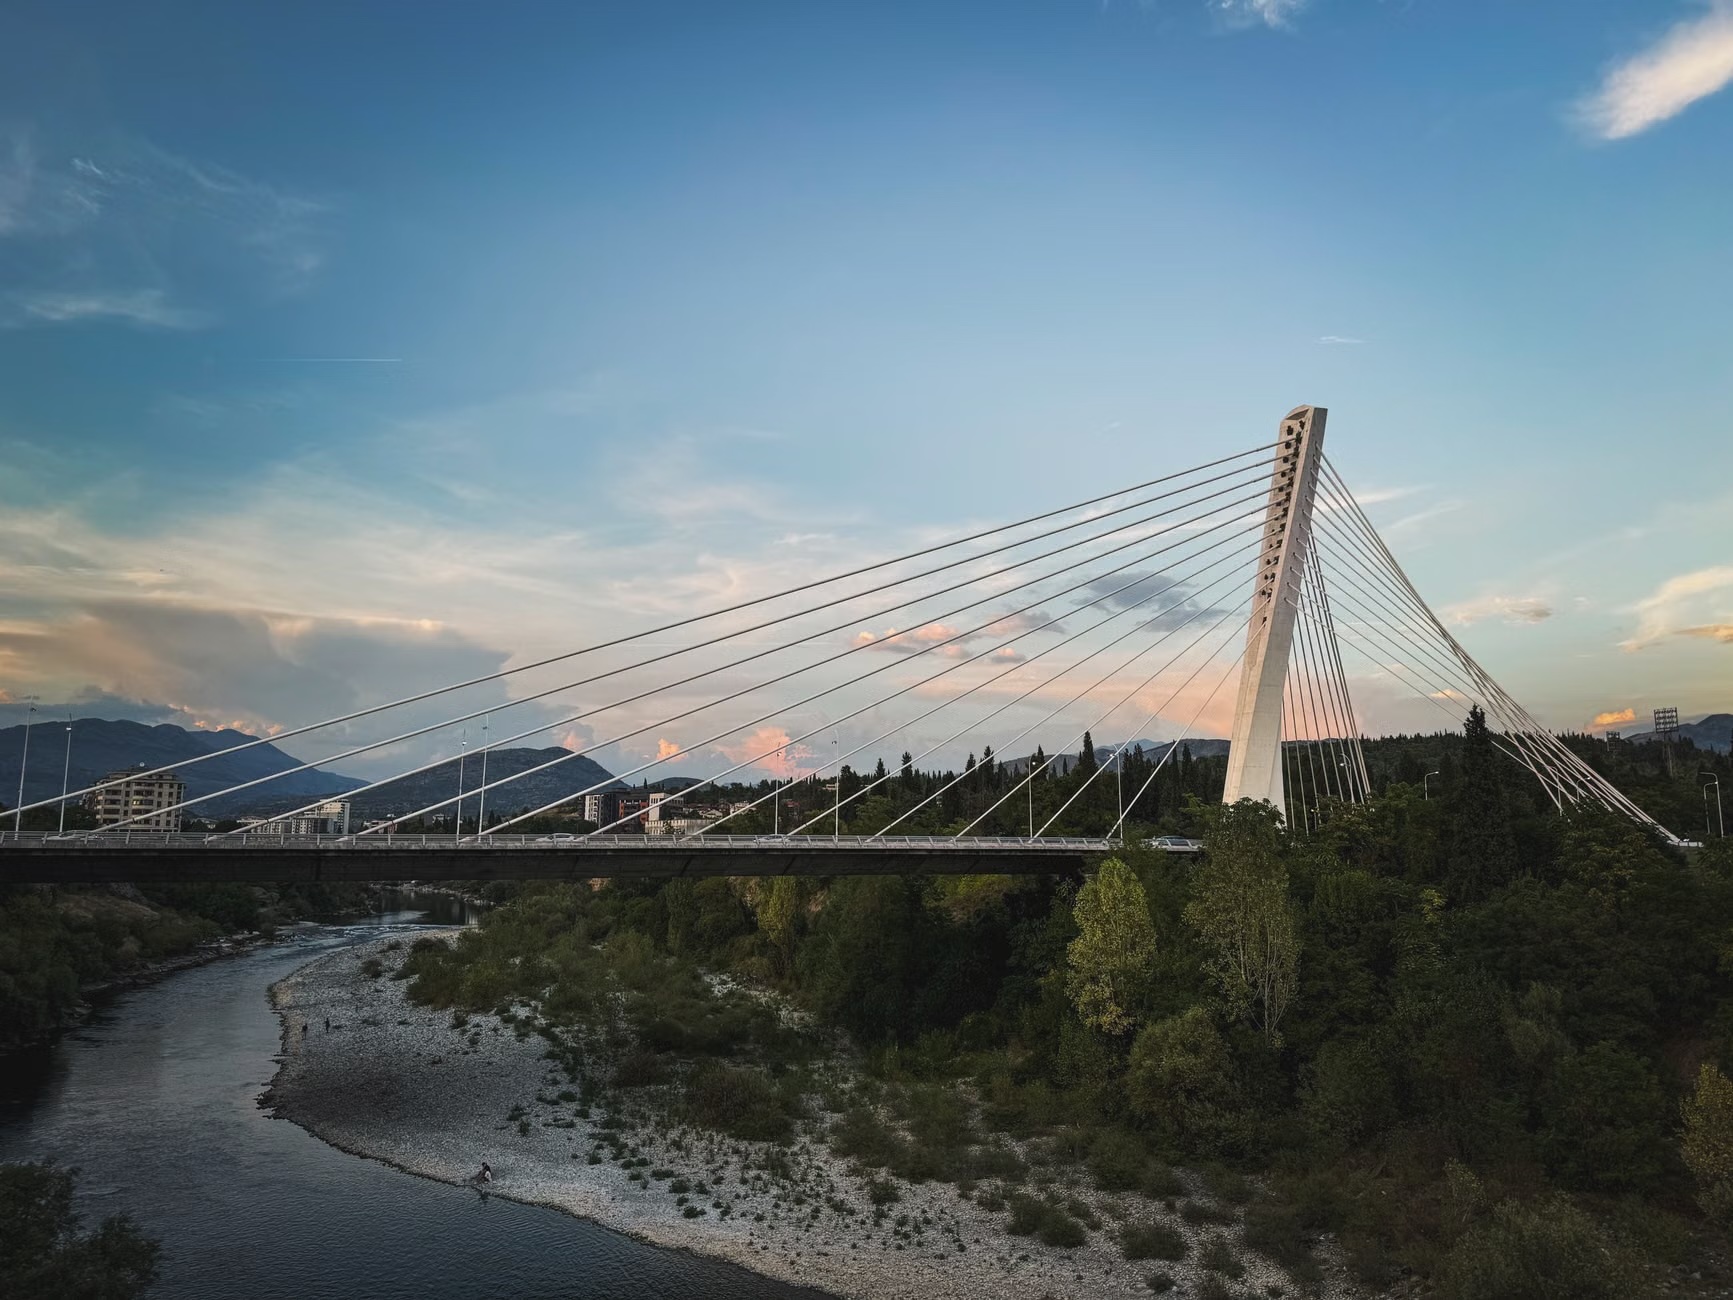
Capture it, or bring it in
Photograph a place on location, or bring in the image the learning already lives in: a plan, a process diagram, a document, a micrograph. A photograph captured on site carries something extra, because it required someone to stand in the place it shows. Every image arrives into the scene ready for annotation.
Pin what matters
Place numbered pins on the details that carry meaning: a junction, a label, a bottleneck. Each pin marks a precise spot in the image, not a general area.
Assign context
Group pins into colour-coded context layers, so one scene can hold more than one reading. Switch a layer on and the scene reorganises around a different concern. Try it on the scene beside you.
Add the reasoning
Open a pin and write. Each pin holds the explanation of why that detail matters, embedded at the exact point it applies to, so the reasoning is read against the scene rather than beside it.
Publish, or submit
This is where the two tiers separate. The same finished scene leaves in one of two directions, depending on who built it and why.
Publish, with Panova Resource
The finished scene goes out to students as an expert-modelled walkthrough, building orientation and readiness before they face the real thing.
PublishSubmit, with Panova Assignments
The student sends in their annotated scene as authentic evidence of their own reading: what they noticed, where it sits, and why it matters here.
SubmitOne craft, practised end to end. Build the scene, pin what matters, attach the reasoning, then send it where it needs to go.
Register interest