For educators
Build it once. Use it many ways.
Photograph the place, pin what an experienced eye would notice, add your voice, and switch on the activities that fit. One experience becomes an induction, a recall check, and somewhere for students to bring their work back to.
No code. Built in the browser.
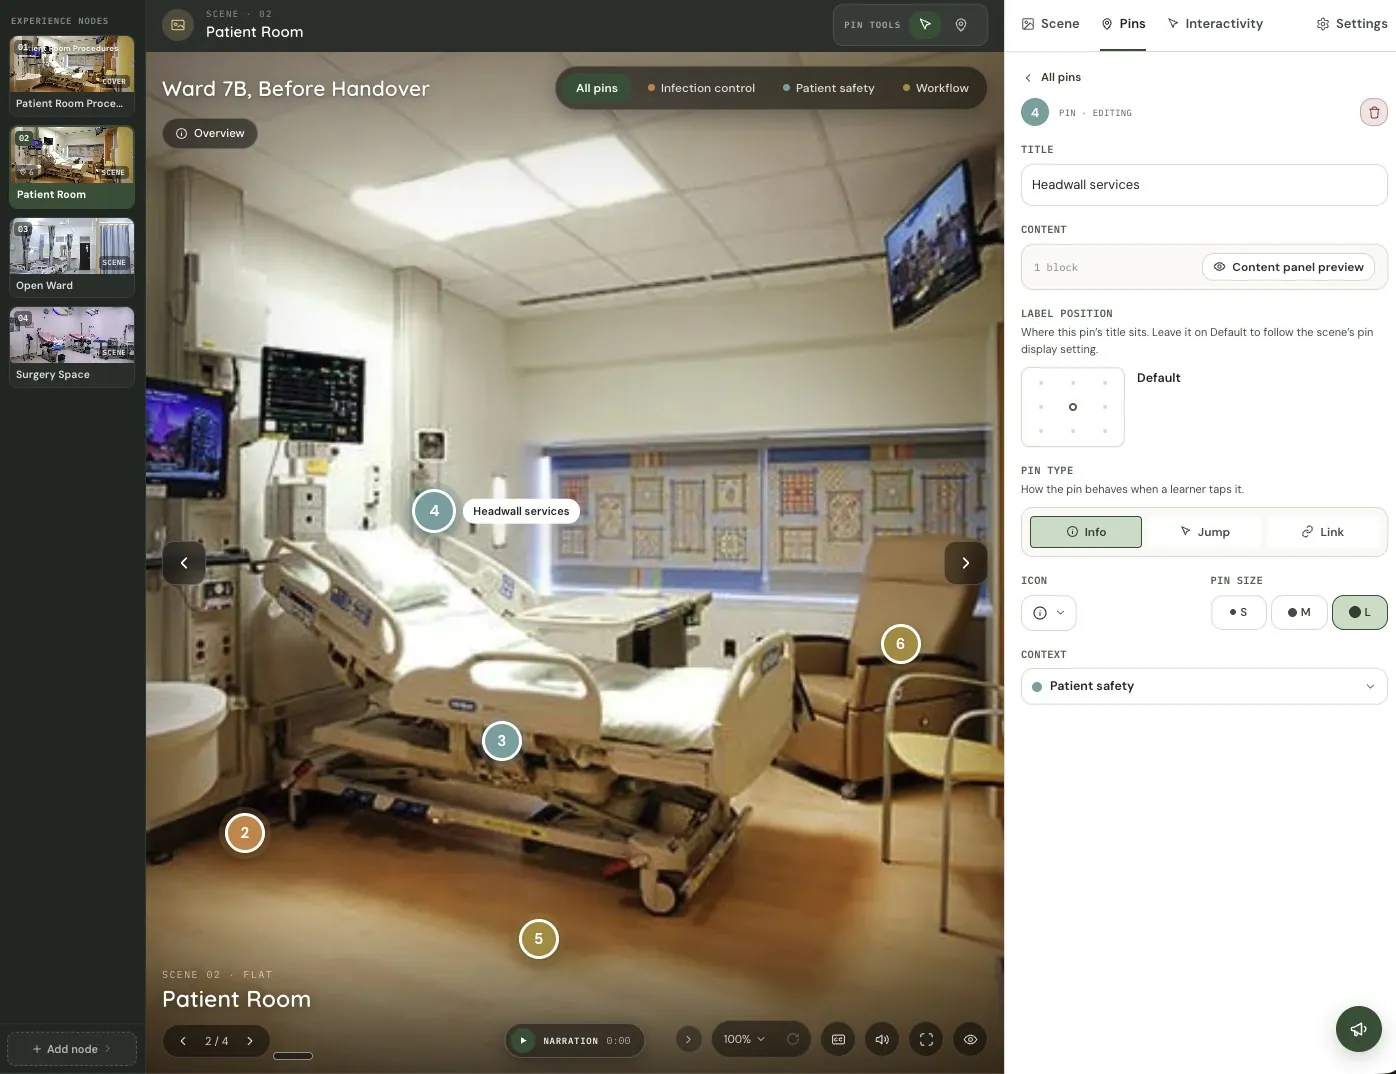
Scenes that connect, in the order you choose.
An experience is a set of connected scenes. Open with a cover and an orientation, walk students through in sequence, let pins jump between scenes, and branch where a decision matters.
An experience with a cover and three scenes in sequence. A jump pin links Patient Room to Surgery Space. A decision pin on Open Ward branches to two outcome scenes.
Everything a scene needs, in one panel.
Choose how students see the place, pin what matters, sort it into contexts and add your voice. Each scene keeps its own settings.
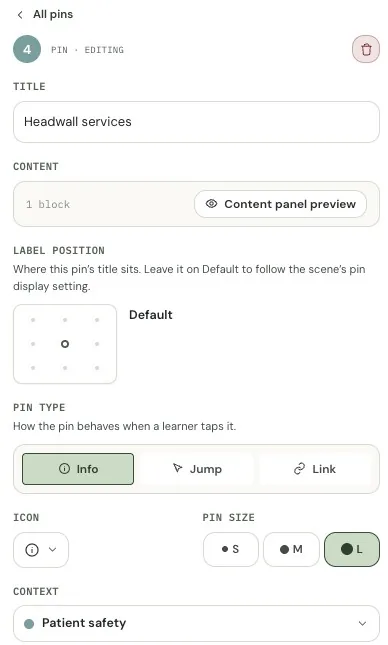
Pin what an experienced eye notices
Give each pin a title, content and size, then choose how it behaves. An Info pin explains, a Jump pin moves students to another scene, and a Link pin opens a resource.
See it the way they will
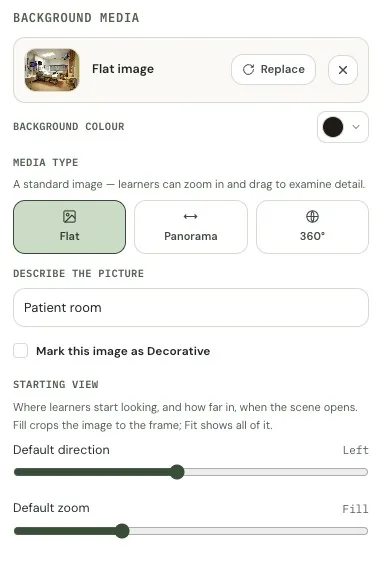
Flat, panorama or 360°, a described picture, and the exact view students open on.
Add your voice
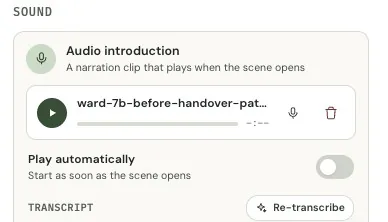
Record narration in the panel. It’s transcribed, so every student can read along.
Sort it into contexts
Colour-code pins into contexts students can switch on and off, like infection control or patient safety. Keep a context author-only when it’s just for you.
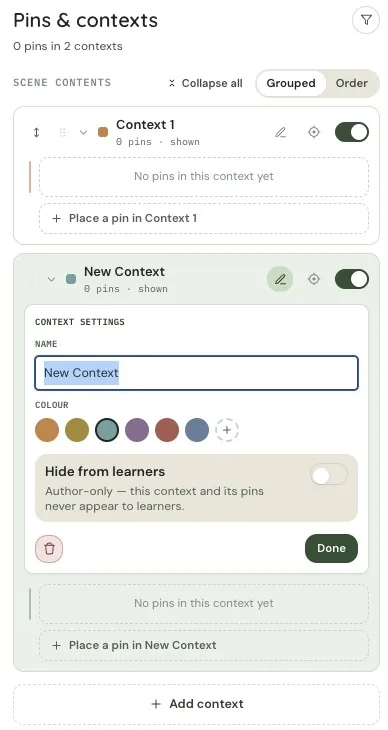
Switch on what fits. Nothing to rebuild.
Every activity is assembled from the scenes, pins and contexts you’ve already made. Run one on a single scene, or across the whole experience at once.
See what they noticed, and where they stalled.
Student work comes back to the scene it came from. You see who placed what, where, and which scene the cohort keeps getting stuck on.
Review
Where student work lands: activity submissions and the versions students built for themselves.
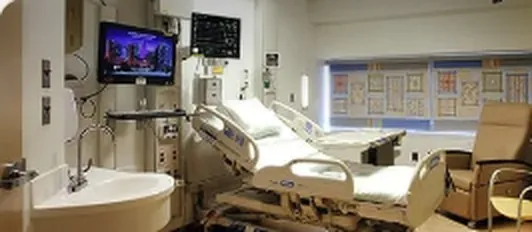 Ava’s copy
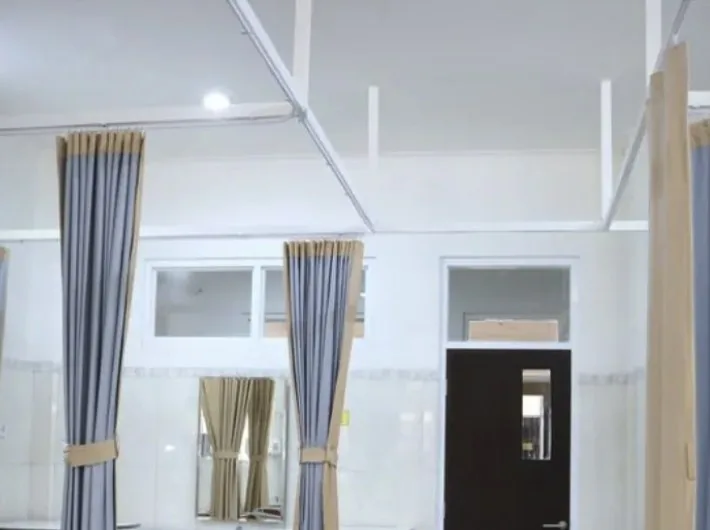 Liam’s copy
 Priya’s copy
Insights
Where learners struggle, how far they get, and whether the experience is reachable for everyone.
Description coverage is at 100%. Every image is described and every pin says something.
Live the moment you publish.
Every edit reaches your students the moment you save. Share one direct link, or place the experience on a page in your LMS.
One direct link
The link students open always points to the current published version, so there’s nothing to re-send when you update it.
Check it where they’ll see it
Preview the experience inside a course page or on its own, on desktop, tablet or phone.
Build it with your team
Invite collaborators to shape an experience with you, from the first scene to the final check.
Which place would you build first?
Bring one ward, lab, site or studio you teach with. We’ll sketch the experience with you, scene by scene, and show you what students would do in it.
One place in a longer learning journey.
Panova works on its own. Paired with the other StackleHQ tools, the scene becomes part of a week, a reflection, a piece of work and a story students can come back to.
With Panova. Put the ward walkthrough in front of students the week before placement, not buried in week one.
Explore Thredly →The scene students explore, show what they noticed in, and bring their work back to.
With Panova. Ask students what they noticed, on the same course page as the scene, while it’s still fresh.
Explore Stackle →QuyerOpen authoring for learners and educatorsWith Panova. When students make something from what they saw, every version they build is kept.
Explore Quyer →Learner HubPart of StackleWith Panova. What they reflected on after the ward joins everything else they’ve written, across courses and years.
See the Learner Hub →