Where it fits
Wherever your students already are.
Panova runs on its own. Share one link, or embed an experience wherever your course lives: a page in your LMS, a Teams channel, a SharePoint site.
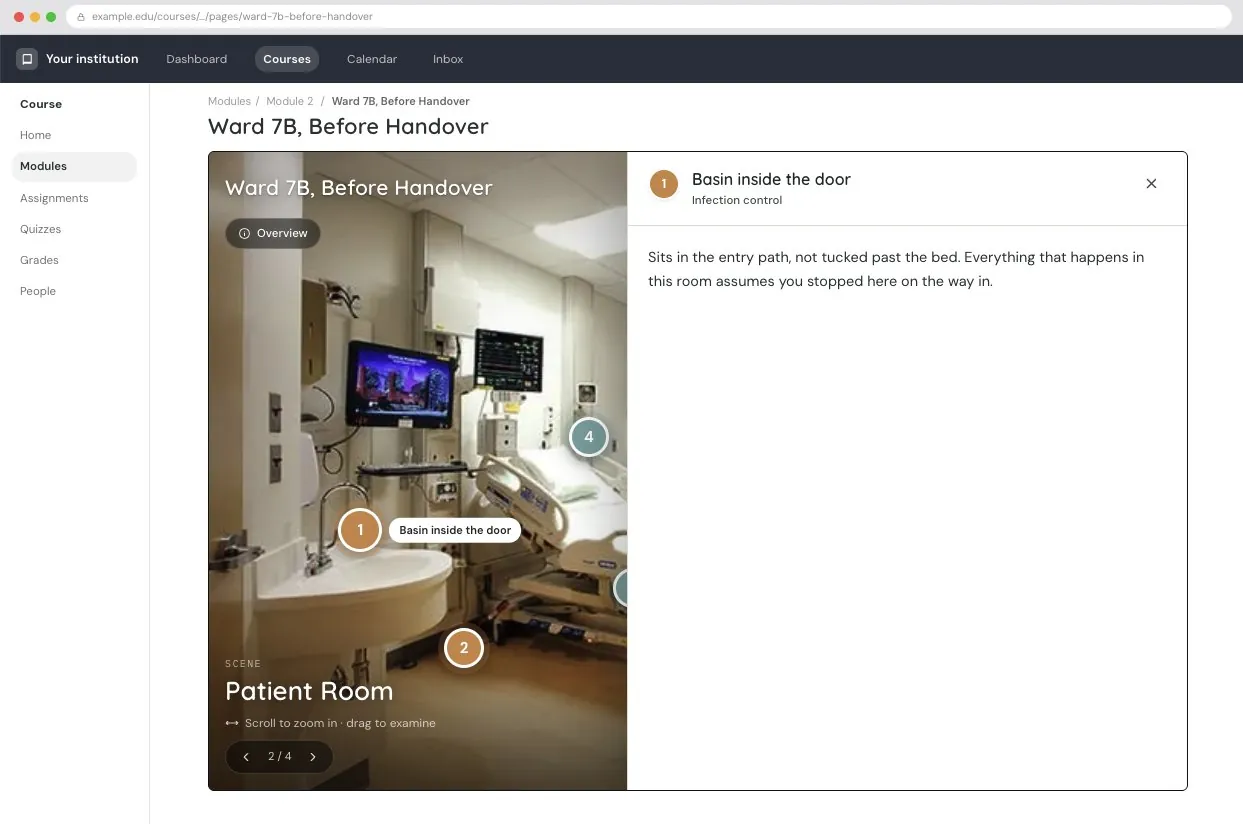
One experience. Open it however suits the moment.
Every experience has a direct link and can be embedded. It’s the same scenes, pins and activities either way, and every edit you publish shows up in both.
Share one link
Students open the experience full screen from a single link that always points to the current published version.
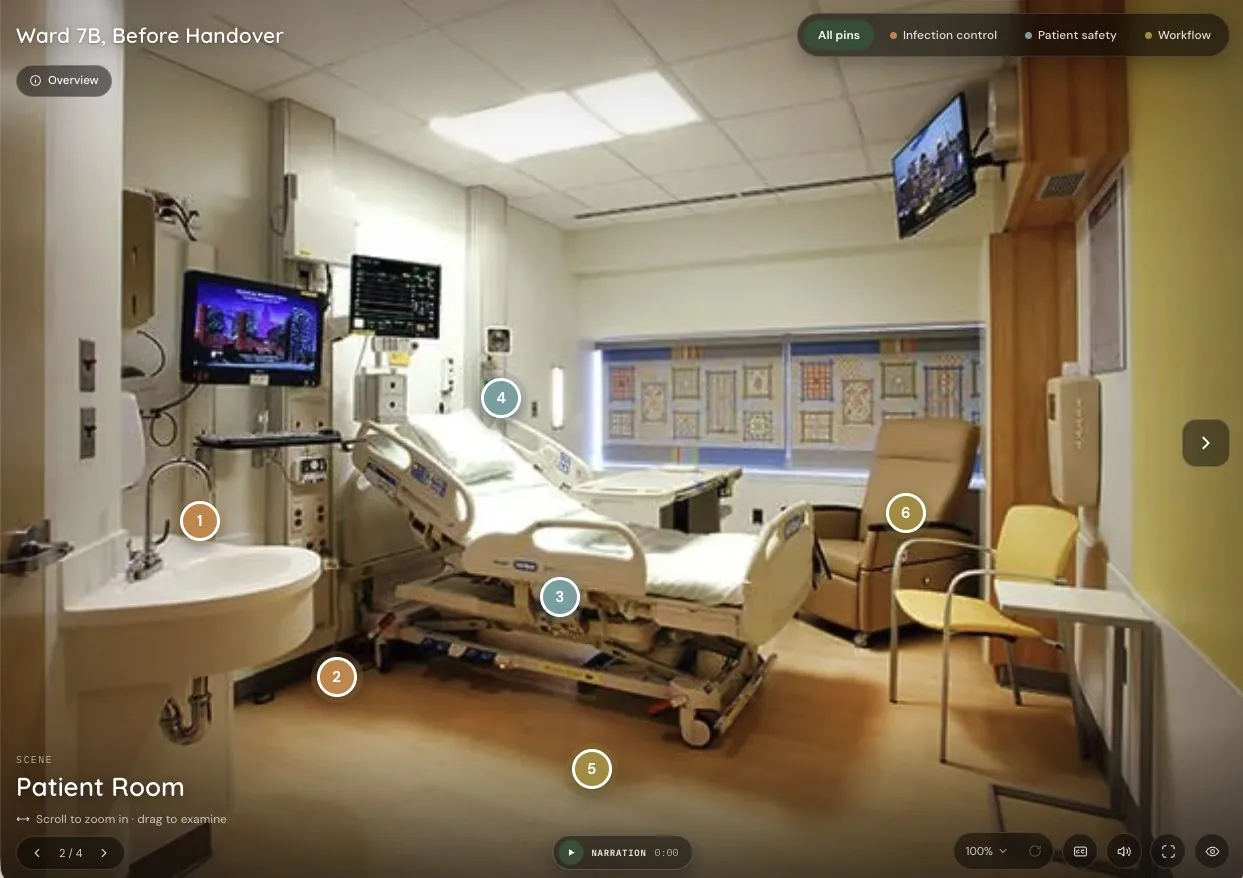
Place it in your course
Drop the experience onto the page where it belongs, so students meet it in the flow of the unit.
Not just the LMS. Wherever the course lives.
Learning doesn’t only happen on the course page. Put the experience where your students and teaching teams already work.
Where it sits across a program.
Panova belongs wherever students learn from a place: before they get there, while they’re in it, and when they need to show what they understood.
| If the outcome is… | …students do this | …and you see |
|---|---|---|
| Identify hazards in a clinical space | Spot the issue on a staged copy of the ward | Which issues each student found, and which they missed |
| Explain the layout of a work site | Pin and explain the site from their own photos | Their reasoning attached to each pin |
| Recall critical equipment locations | Full recall on the unmarked scene | Where the cohort hesitates or misplaces pins |
UNSW College is bringing Panova into its new applied degrees, where learning in real workplaces sits at the centre of the program.
Talk to us about your program →One unit. One place. Twelve weeks.
An example second-year nursing unit with a clinical placement. The same ward carries students from their first week to their final task.
Illustrative unit. Your weeks, tasks and scenes will differ.
Every discipline that learns from a place.
Wherever reasoning depends on reading a real space, an image or a diagram, the same shift applies: the work stays attached to what students were looking at.

Your LMS holds the course. Panova holds the place.
Panova doesn’t replace the platforms you run. It adds the one thing they can’t: a place students can walk, work in and bring their evidence back to.
| Dimension | An annotated image | panova. |
|---|---|---|
| What students see | One view of a place | A connected set of scenes, in the order you choose |
| What the labels say | Names | Pins with reasons, layers and your recorded voice |
| What students do | Look | Nine ways to engage on a scene, plus activities across the experience |
| What comes back | Nothing | Their pins, notes and versions, with insights on where they stalled |
| Who builds | You | You, and your students from their own photos |
Who does what.
Panova is built by the people who teach and design the course, and used by the students in it. Each role gets what it needs.
Educators
Build the scenes, choose the activities, and review what comes back.
Pins and contextsActivitiesReviewLearning designers
Shape experiences across units, set how students move through them, and keep accessibility coverage high.
Experience flowTemplatesCoverageStudents
Explore the place, show what they noticed, and build experiences of their own.
ExploreShowBring backProgram leads
Bring one approach to readiness and placement evidence across the units in a program.
ConsistencyWork-integrated learningBuilt so every student can take part.
Questions we hear
Does Panova replace our LMS?
No. It sits alongside it, or inside it. Your LMS keeps the course; Panova adds the place.
Can we use it outside the LMS?
Yes. Share a direct link, or embed it in Teams, SharePoint or any page that takes an embed.
What kinds of images work?
Flat photos, panoramas and 360° images, from a phone or a dedicated camera.
Can students build their own experiences?
Yes. Students can create an experience from their own photos, pin it and hand it in.
Where do we start?
With one place you teach with. Photograph it, pin what matters and share the link.
Start with one place.
You don’t need a program-wide plan to begin. One place, one experience and one group of students is enough to see the difference.
Where would Panova fit in your program?
Tell us about the places your students learn from. We’ll map where Panova fits, from orientation to assessment.
One place in a longer learning journey.
Panova works on its own. Paired with the other StackleHQ tools, the scene becomes part of a week, a reflection, a piece of work and a story students can come back to.
With Panova. Put the ward walkthrough in front of students the week before placement, not buried in week one.
Explore Thredly →The scene students explore, show what they noticed in, and bring their work back to.
With Panova. Ask students what they noticed, on the same course page as the scene, while it’s still fresh.
Explore Stackle →QuyerOpen authoring for learners and educatorsWith Panova. When students make something from what they saw, every version they build is kept.
Explore Quyer →Learner HubPart of StackleWith Panova. What they reflected on after the ward joins everything else they’ve written, across courses and years.
See the Learner Hub →