For students
Explore it. Show it. Bring it back.
What your students actually do in Panova: walk a place before they get there, prove what they noticed once they have, and hand back work that still carries the place it came from.
Inside their course, or from one link.
Before, during and after the placement.
Work-integrated learning happens in places students can’t rehearse in a lecture theatre. Panova gives each stage of a placement something real to do, anchored to the place itself.
Arrive knowing where to look
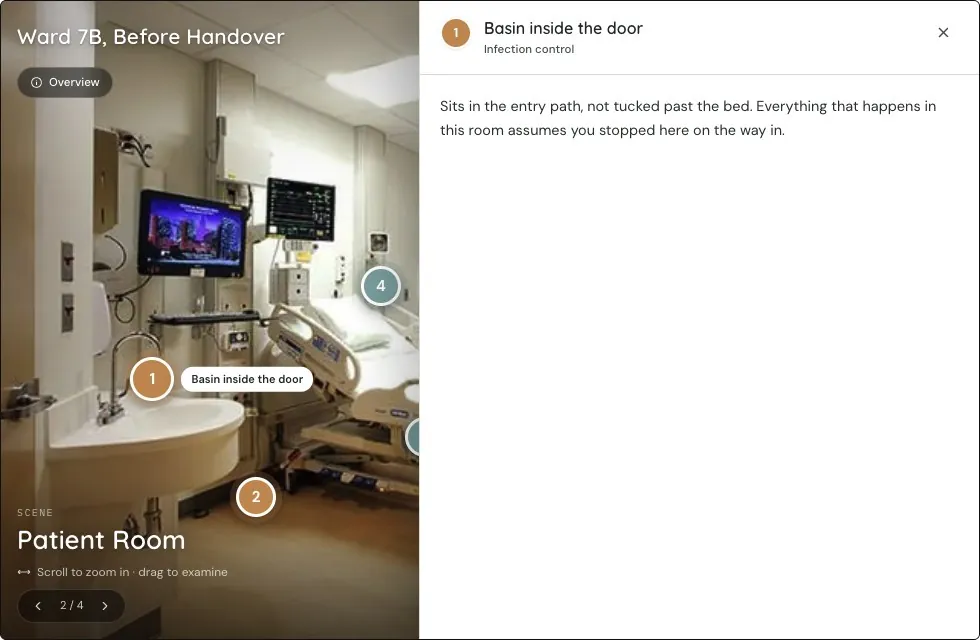
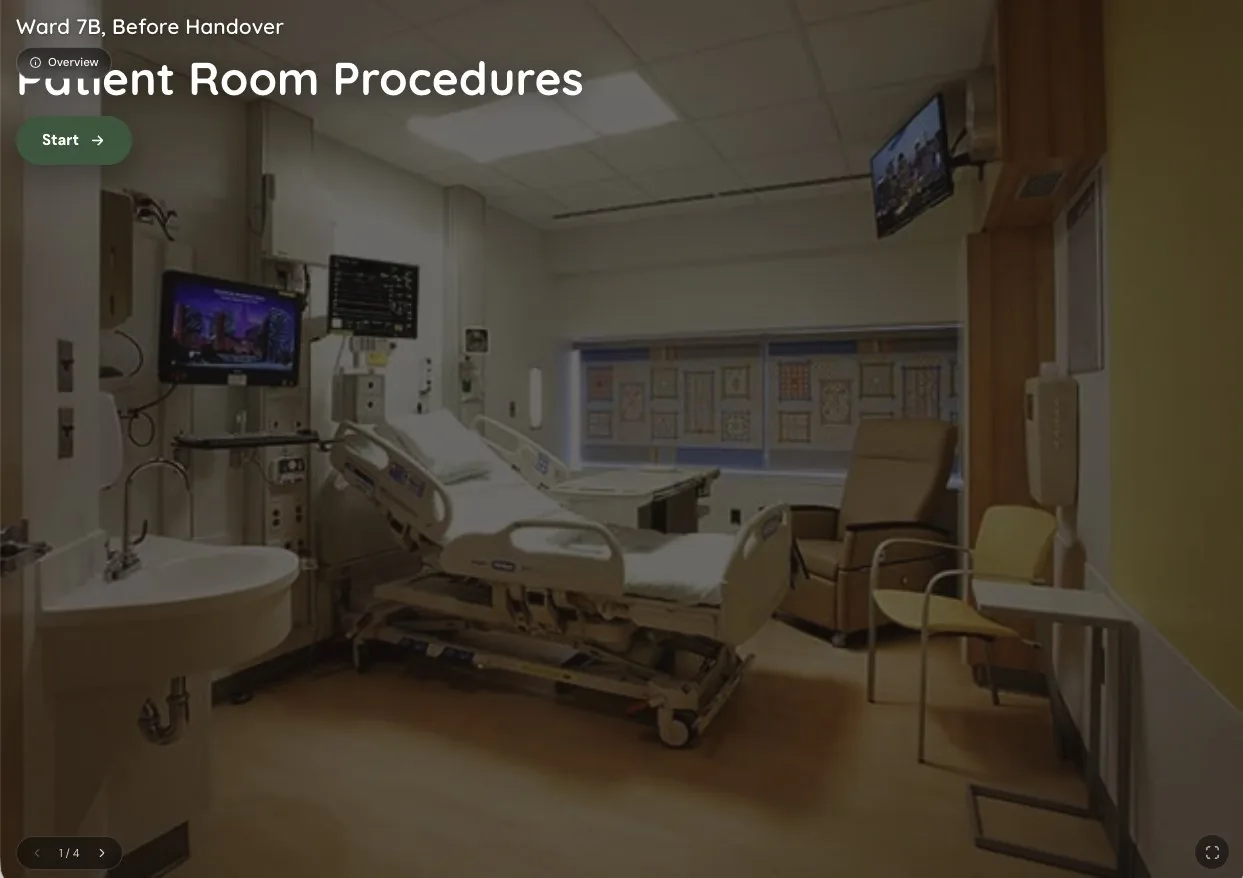
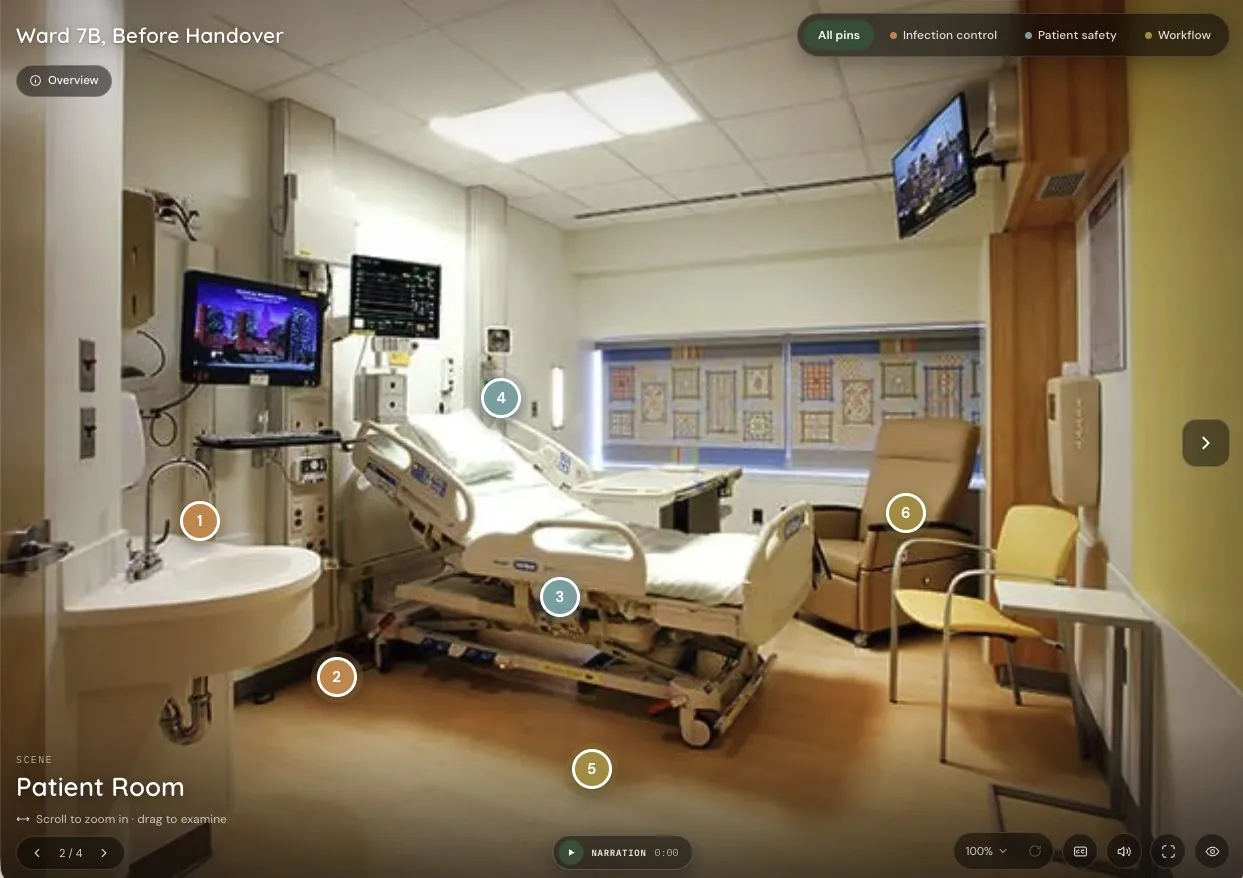
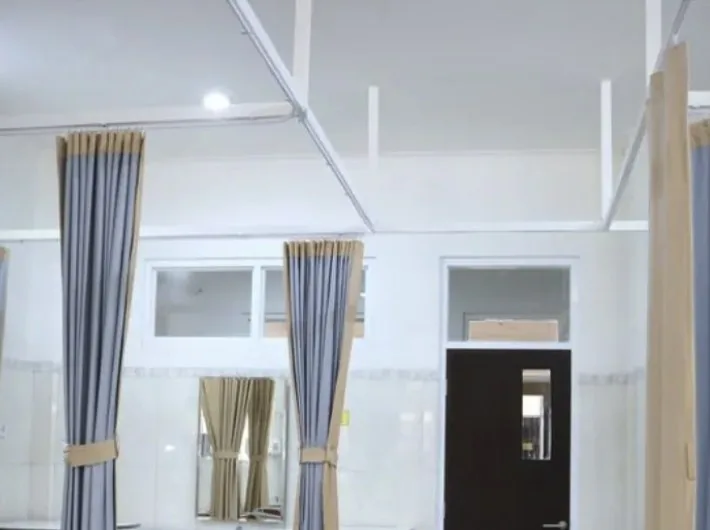
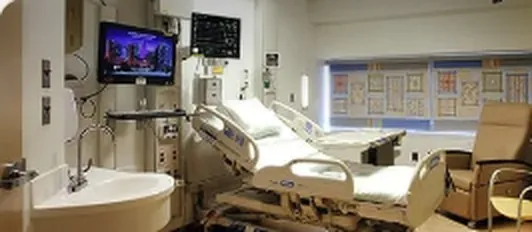
Students walk the ward, open the pins and hear the narration, so the first shift isn’t spent working out where things are.
Capture it while they’re there
On placement, students photograph what they meet, pin what they notice and say why, while the moment is still in front of them.
Show what stuck
Back on campus, the same scenes check what they can find without labels, what they’d fix, and what they’d do next.
“Where am I, and what should I notice?”
Your experience opens like a place, not a page. Students move scene by scene, the way they’d walk it on the day, with your voice and your pins to guide them.
Tasks that happen in the place, not about it.
On the same scenes they explored, students take on the activities you switch on. Every answer sits on the spot it belongs to, so you see what they noticed and where.
 12PIN TRAY · FULL RECALLSharps containerCall bell2 of 4 placed
“Can I find it without the labels?”
The scene comes back unmarked. Students drag each pin to where it belongs, from memory.
 3 of 4 issues found
“What’s wrong with this picture?”
A staged copy of your scene hides problems to find, from a trip hazard to a missing check.
 ?A patient’s obs are dropping. What do you do first?Escalate to the nurse in chargeRepeat the observations first
“What would I do here?”
A decision pin offers choices, each leading to a different scene and a different outcome.
FIELD NOTE · WEEK 3 ON PLACEMENT4Headwall servicesOur ward checks suction before every admission. I hadn’t seen why until the second night.“What did I notice, right where I noticed it?”
Students add their own notes and evidence at the points you set, so their reasoning stays attached to the place.
Illustrative student work. Task wording is set by the educator.
Students make the scene. The reasoning is theirs.
Students can build an experience of their own from a place they’ve been: their photos, their pins, their explanation of why each detail matters. It’s the difference between telling you about a site and showing you how they read it.
 123
123Every submitted scene rests on an image that required the student to be there.
Harder to fake. Easier to see.
When the work sits on the actual place, the reasoning has to be specific too. A description that could fit anything stops being enough.
Grounded in a real place
An answer pinned to this ward, this site, this bench can’t be written generically, by a student or by a tool.
Noticing, made visible
You assess what they saw and why it mattered, not only how well they wrote about it afterwards.
Built for work-integrated learning
Readiness before placement, evidence during it, and demonstrated understanding after, in one connected record.
In their course, on their phone, with captions on.
Their work comes back to the scene it came from.
Every pin placed, every issue found and every version built lands in Review, with Insights showing where the cohort hesitated.
See how educators build and review →What would your students bring back from placement?
Tell us about the placements and site visits in your program. We’ll show you what students could do before, during and after them.
One place in a longer learning journey.
Panova works on its own. Paired with the other StackleHQ tools, the scene becomes part of a week, a reflection, a piece of work and a story students can come back to.
With Panova. Put the ward walkthrough in front of students the week before placement, not buried in week one.
Explore Thredly →The scene students explore, show what they noticed in, and bring their work back to.
With Panova. Ask students what they noticed, on the same course page as the scene, while it’s still fresh.
Explore Stackle →QuyerOpen authoring for learners and educatorsWith Panova. When students make something from what they saw, every version they build is kept.
Explore Quyer →Learner HubPart of StackleWith Panova. What they reflected on after the ward joins everything else they’ve written, across courses and years.
See the Learner Hub →